From Hugo to Next.js + Vercel
The blog that I have in wzulfikar.com was written using Hugo, a static site generator from Go. And now, you're looking at the Next.js version of that blog. Here's what I did to migrate it.
1. Setting up Next.js
First, we start with install Next.js blog template. Notice that I used the blog-starter-typescript because I want to use the typescript template:
npx create-next-app --example blog-starter-typescript nextjs-blog
2. Moving the markdown files
Once the setup is ready, I moved all markdown files from my Hugo blog to nextjs-blog/_posts. This part is quite straightforward because apparently, the format that Hugo uses is almost similar with what Next.js blog needs. For example:
From this:
---
title: "Gotcha!"
date: 2019-06-25T20:26:16+08:00
tags: ["programming"]
draft: false
hideToc: true
---

My markdown content..
To this:
---
title: "Gotcha!"
date: "2019-06-25T20:26:16+08:00"
excerpt: "Collection of programming gotchas I have  encountered. The one that made me confused."
tags: ["programming"]
draft: false
hideToc: true
coverImage: https://og-image.wzulfikar.com/i/**Gotcha!**.png?theme=dark&md=1&fontSize=100px&images=NO_IMAGE
ogImage:
  url: https://og-image.wzulfikar.com/i/**Gotcha!**.png?theme=dark&md=1&fontSize=100px&images=NO_IMAGE
---

My markdown content..
What I needed to add is the excerpt, coverImage, and ogImage.url.
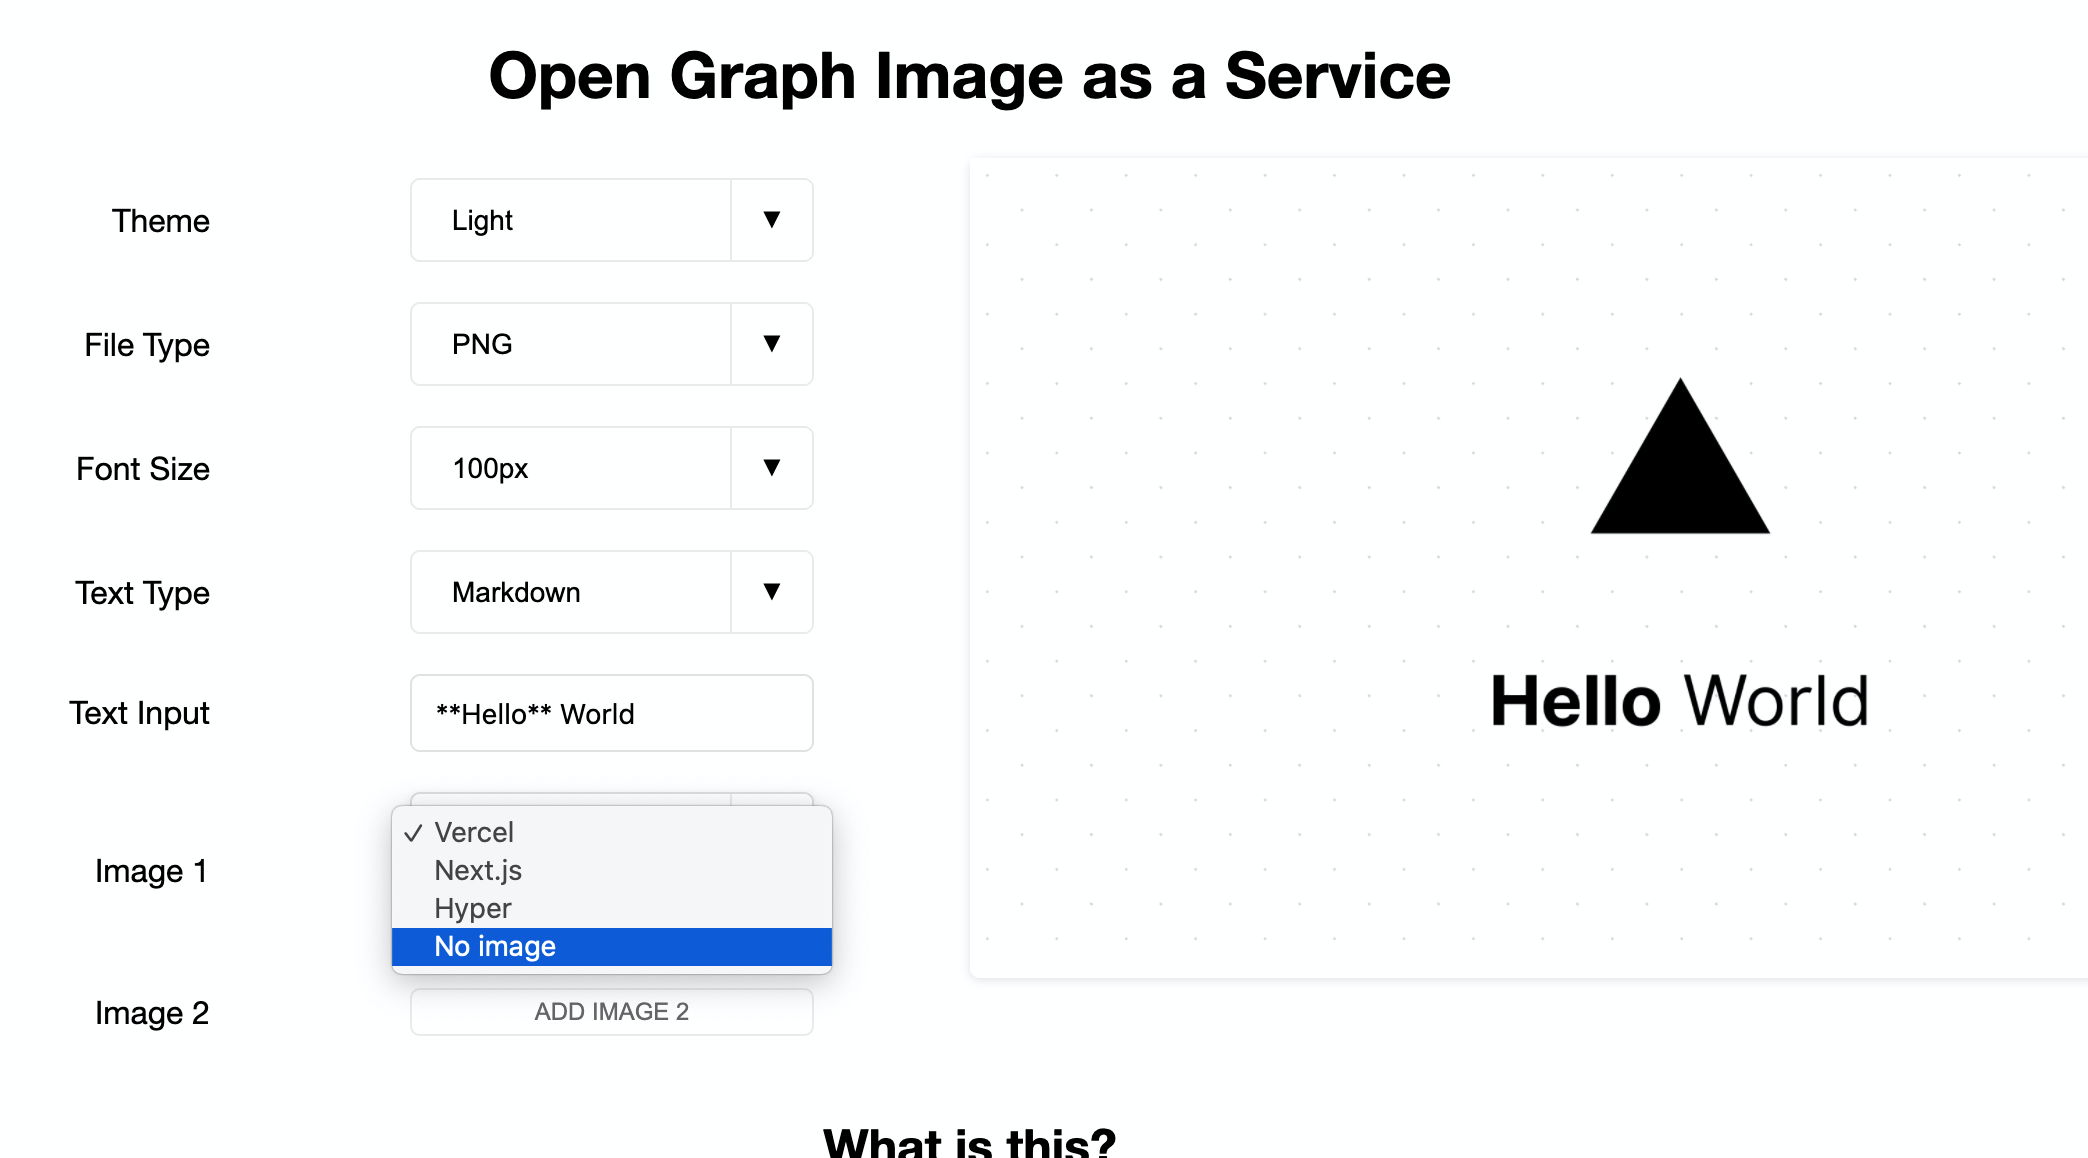
3. Generating Cover Image
I realised that the images I used in my previous blog is not standardized; they all have different sizes. This means that I can't use those images for my cover. I figured that I can generate those images using https://og-image.vercel.app but I realized that they'll keep Vercel branding for the first image.
Going to side quest mode, I forked the repo (from github.com/vercel/og-image to github.com/wzulfikar/og-image) and adjusted the code so that I can omit the first image. Check it out!
https://og-image.wzulfikar.com
4. Deploying to Vercel
Now that everything looks good, I can deploy it to Vercel. To activate my custom domain, i just need to add new CNAME entry in my cloudflare:
type    name    content
CNAME   next    cname.vercel-dns.com
Custom domain enabled, Github repo linked to Vercel, and finally I run vercel to deploy the site.
So, that's it the process. If you have any question, you can find me at twitter.com/wzulfikar.
Till next!